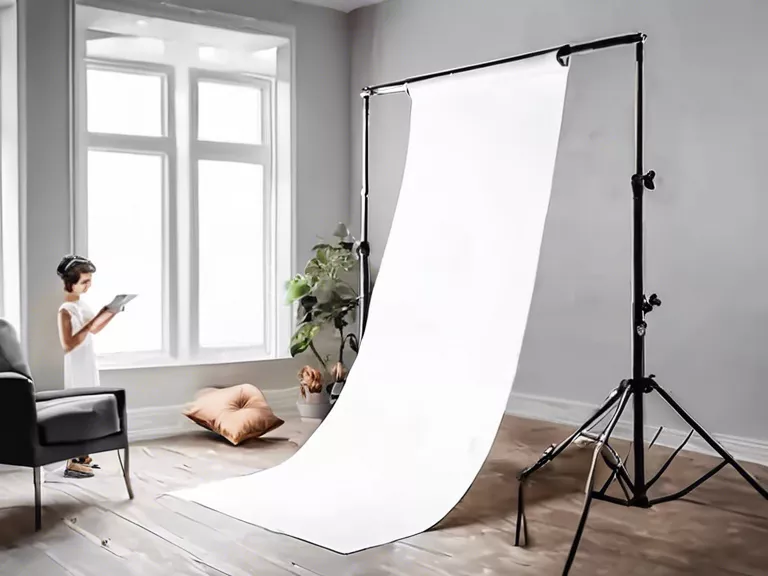
Creating a professional-looking photo studio at home doesn't have to be complicated or expensive. With a few simple tools and some creativity, beginners can set up a DIY photo studio that produces great results. Whether you're a budding photographer looking to practice your skills or just want to take better photos of your family and friends, here's how to create a simple DIY photo studio at home.
First, you'll need a space with good natural light. Choose a room with windows that let in plenty of daylight, or set up near a large window. Natural light is the most flattering and can help create beautiful, soft lighting for your photos.
Next, set up a backdrop. You can use a plain white sheet or fabric as a backdrop, or get creative with patterned or textured fabrics. Hang your backdrop behind your subject using a curtain rod, or attach it to a wall using tape or clips. Make sure the backdrop is smooth and free of wrinkles for the best results.
Now, it's time to set up your lighting. You can use natural light from a window as your main light source, but you may also want to add some artificial lighting for a well-lit studio. You can use desk lamps, floor lamps, or even LED lighting panels to supplement your natural light and fill in any shadows.
Finally, set up your camera and props. Use a tripod to keep your camera steady and at the right height, and experiment with different angles and compositions. Add props like pillows, blankets, or small furniture to create interesting and dynamic photos.
With these simple steps, you can create a DIY photo studio at home that is perfect for beginners. Practice your skills, experiment with different techniques, and have fun capturing beautiful images.
